Tuesday, February 26, 2013

Dynamics II

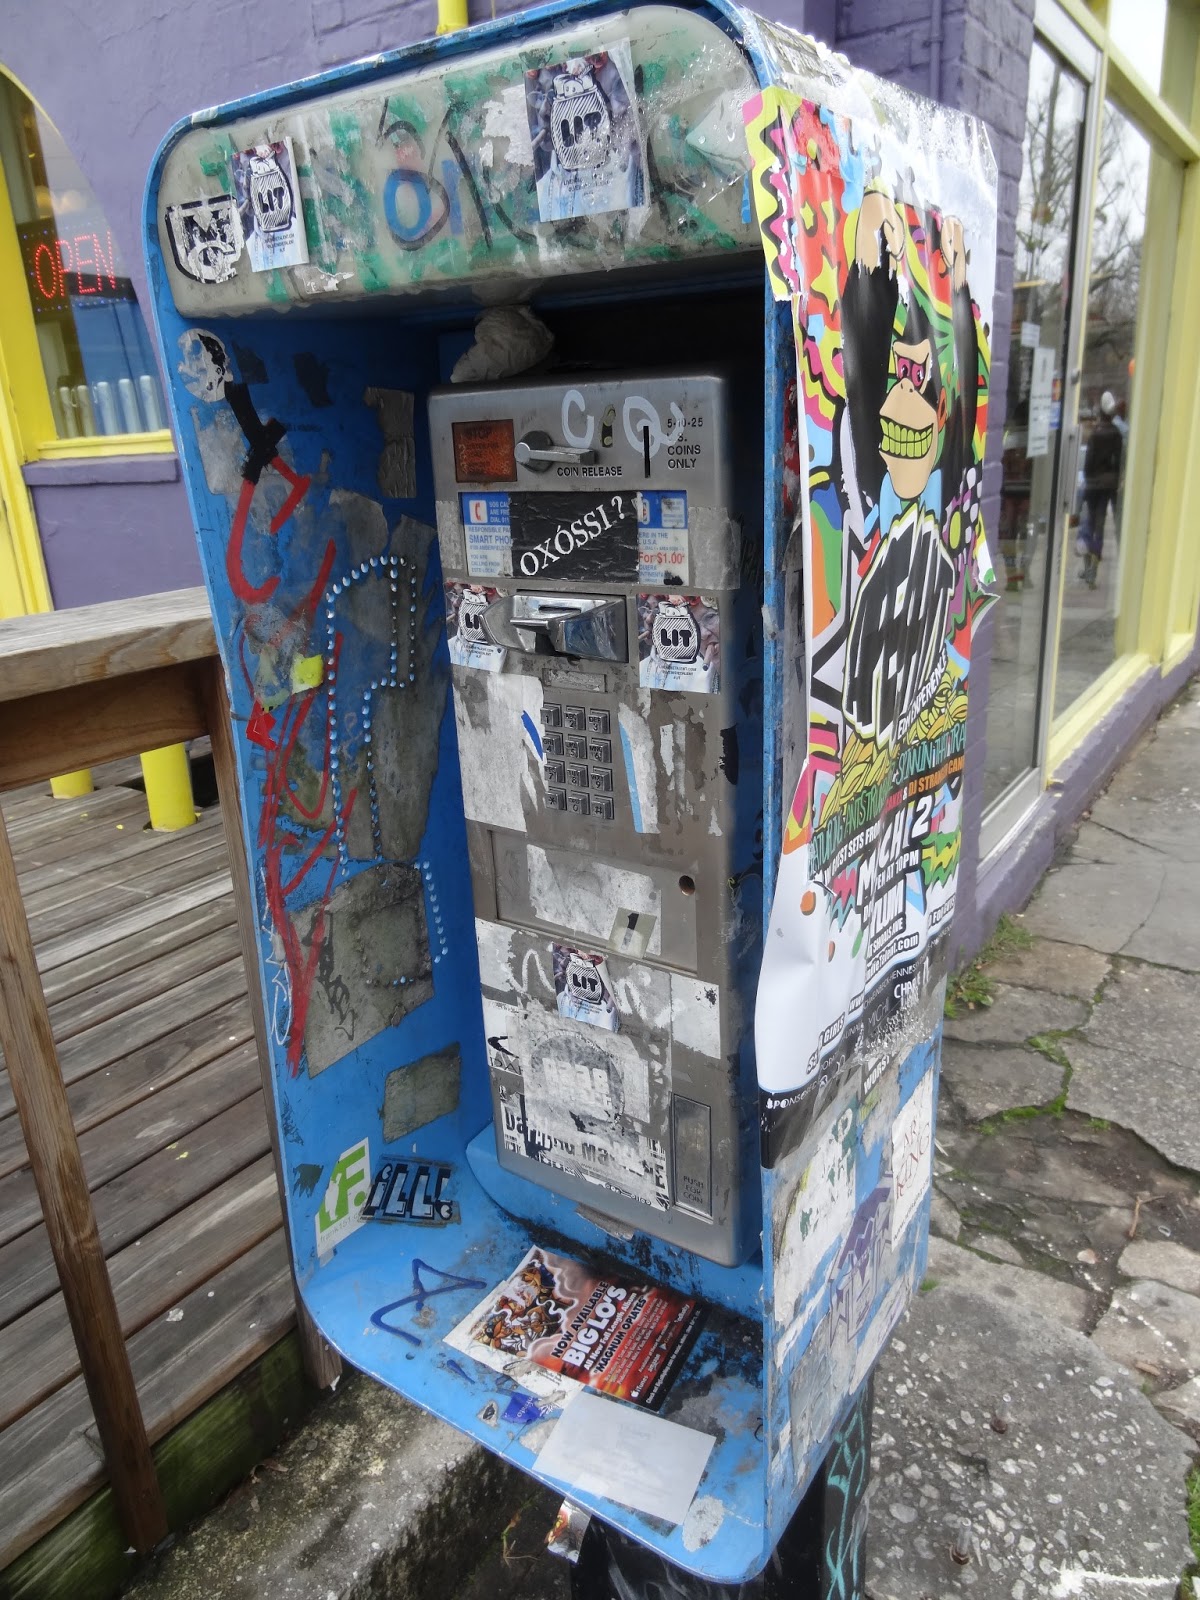
     This past Saturday, my friend Ashli and I went to Little Five Points for Rag-O-Rama's  $1 sale, and I found some really great items! Later that night, I attended a clothing swap/album release party. Again, it was a very dynamic day in which I met new people and saw things that inspired me. 


Party pictures courtesy of Ronnie Perez

Wednesday, February 6, 2013

Monday, February 4, 2013

How to Make a Collage-Style Birthday Card


     Hey! It was recently my little sisters birthday, and as usual, I wanted to hand craft a token from the heart. I put together a collage-style birthday card, because it is such a fun way to express creativity and love. To imitate this gesture, put aside a couple of hours for the project, and get the music pumping to put yourself in a enthusiastic and artistic mood. 

How-To: 

Step One: Gather Your Materials
For this DIY project, you'll need magazines, construction paper, glue, scissors, markers, a black ink pen, and sequins. 
I personally love to use old Seventeen magazines for my kid sister. They are girly and fun, and they pertain to a 14-year-old. I'm sure to only use issues of which I have multiple copies. I love my magazines too much to cut them! 
Step Two: Flip Through Your Magazines
Before you begin cutting out words, phrases, and images to put on your birthday card, carefully look through your magazines to decide what kind of angle or look you want your card to have. Do you want it to be sweet or edgy? Do you want a lot of blues or yellows? This will also help you decide on how you want to present your card. Do you want it to be poster style, or do you want to fold it horizontally/vertically? As a tip, the more pictures you have, the better. Also, the more clips you have, the greater the variety, the better the selection, and the more pleased you are with the final product! When you are ready and have a good feel of everything, cut out your clips.


Be mindful as you are deciding on your images to get larger images that can act as place holders. It will prevent you from having white space. You can always layer more clips on top of the placeholders. 
Step Three: Layout
Lay out your images onto your construction paper, and make sure to put the larger clips first. This is the time to let your imagination shine! When you are ready, glue them down. 


Step Four: Personal Message
When all of the glue is dry, you can leave a personal, inspirational message to wrap up the warm, loving feel of the card.

At the end, you can decide to add sequins and sparkles to add dazzling effects to your card.
Have fun! It will be such a reward in the end to see the lucky birthday person's smile when they see that you put in time, effort, and creativity to show just how special they are to you.